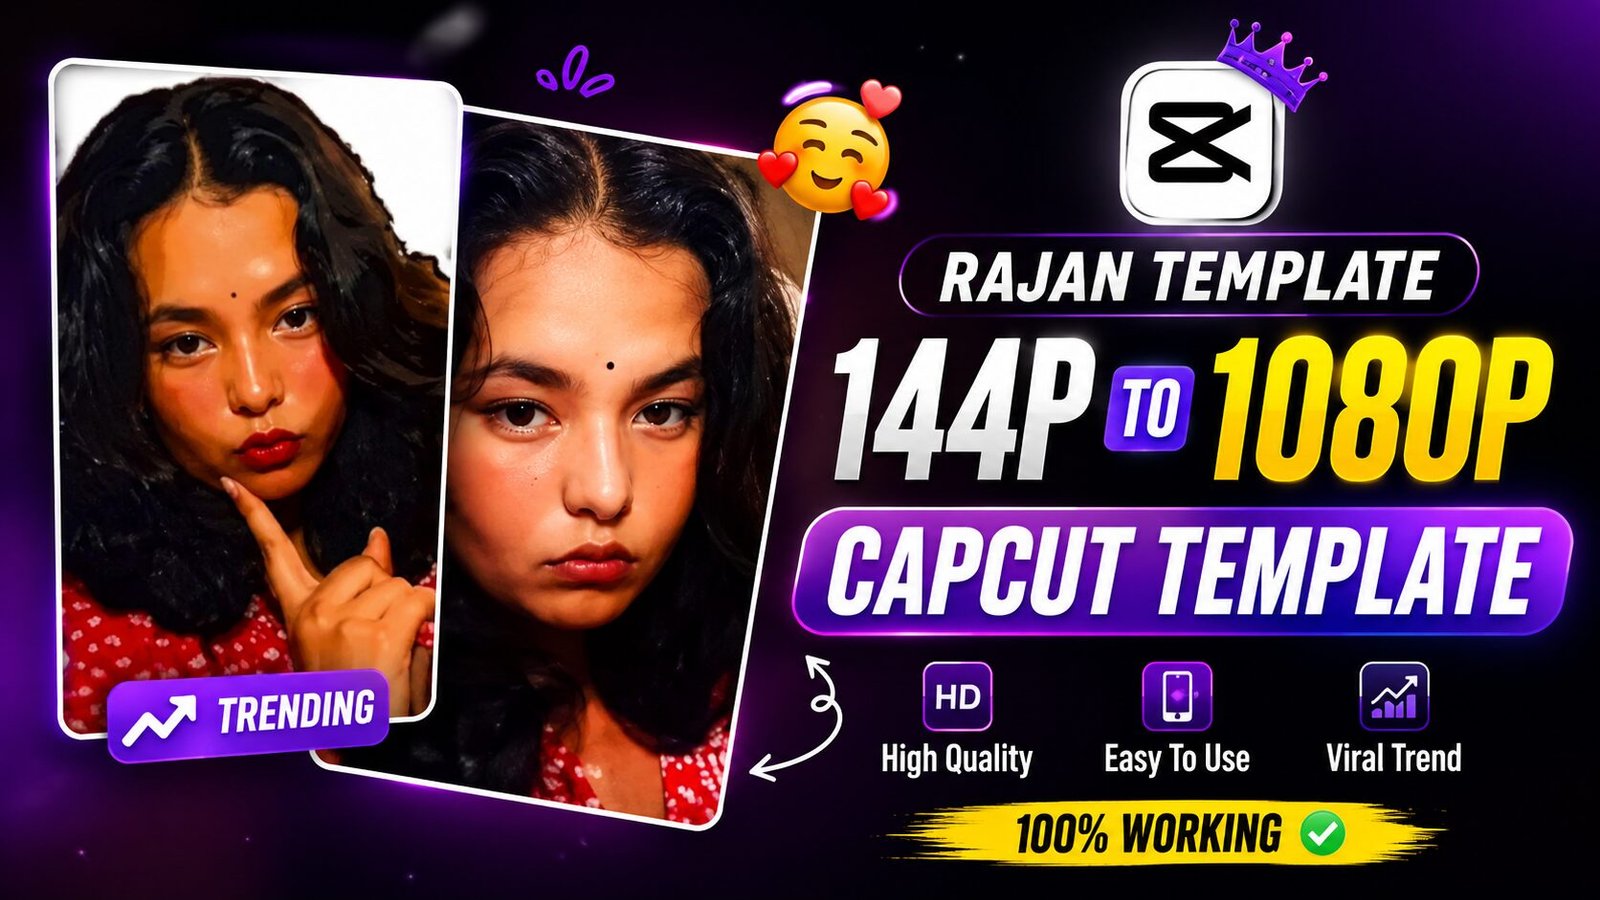
Rajan Template brings you a complete guide to upscaling low-quality video in CapCut. Everything below is laid out step by step so you can follow along in the app.
CapCut upscaling is one of those CapCut trends that looks simple at first but grabs attention instantly. It creates the illusion of a video starting in low quality and then becoming sharp, polished, and cinematic.
That dramatic shift is why this style performs so well on Instagram and short-video platforms. In this guide, you’ll learn what makes the effect work, how to use it properly, and how to make your edit feel more original instead of just copying a template.
And the 144p to 4K trend
The edit style is built around a visual transition. Your clip begins with a blurry, compressed look and then changes into a clean high-resolution appearance that feels like a quality upgrade.
Read Also: CapCut Editing for Instagram Reels: Beginner’s Guide | Mere Bare Me Itna Mat Sochna: CapCut Edit Guide
However, the real trick is not actual resolution improvement. In most cases, creators use filters, overlays, motion timing, and color changes to create the illusion of transformation.
This is exactly why the trend spreads so quickly. Viewers recognize the before-and-after effect immediately, and that makes them stop scrolling. Rajan Template keeps these steps simple so you can focus on the edit itself.
Why this edit style gets attention fast
The popularity of CapCut upscaling edits comes from psychology as much as editing. People naturally enjoy transformation content, especially when it feels dramatic and visually satisfying.
- The first frame creates curiosity.
- The transition keeps viewers watching.
- The final sharp image delivers a strong payoff.
- The format works well for selfies, reels, and travel clips.
In fact, this style is often used for profile-style videos, slow-motion reveals, and short music edits because it gives a strong “upgrade” feeling without requiring advanced editing skills.
Rajan Template: What makes the effect look viral
A good this style edit is not only about switching from blurry to clear. It also depends on timing, music choice, and the way the effect is layered over the footage.
If the transition is too quick, the viewer may miss the impact. If it is too slow, the momentum drops. The best versions usually match the beat of the music and build the reveal smoothly.
For a more polished result, creators often combine contrast boosts, glow effects, zoom motion, and a soft shake. These small details make the final video feel more dynamic and professional.
| Element | Role in the edit | Best practice |
|---|---|---|
| Low-quality intro | Creates the “before” scene | Use a blurry or compressed-looking frame |
| Transition effect | Builds anticipation | Sync it with the beat drop |
| High-quality reveal | Delivers the payoff | Use a clear, well-lit clip or photo |
| Overlay/filter | Adds the illusion of enhancement | Keep it subtle but noticeable |
If you want to understand the platform behind this trend, you can explore the official CapCut website. For the short-video culture that helped make this style mainstream, Instagram is a useful reference point.
What kind of clips work best with this template
The CapCut upscaling works best when the source footage is clear enough to look good after the reveal. A face close-up, a travel shot, a dance clip, or a cinematic portrait can all work well.
- Use one strong subject per clip.
- Choose footage with good lighting.
- Avoid cluttered backgrounds if possible.
- Keep the subject centered for a stronger transition.
If you are using multiple clips, make sure they have similar color tones or subject movement. That keeps the edit feeling smooth instead of random.
H3 block: style preview and editing tips
Glitch-to-clean quality reveal
This version of the template style leans into a digital upgrade look, with a soft glitch feeling at the start and a crisp reveal at the end. It suits creators who want a modern, energetic, slightly futuristic vibe.
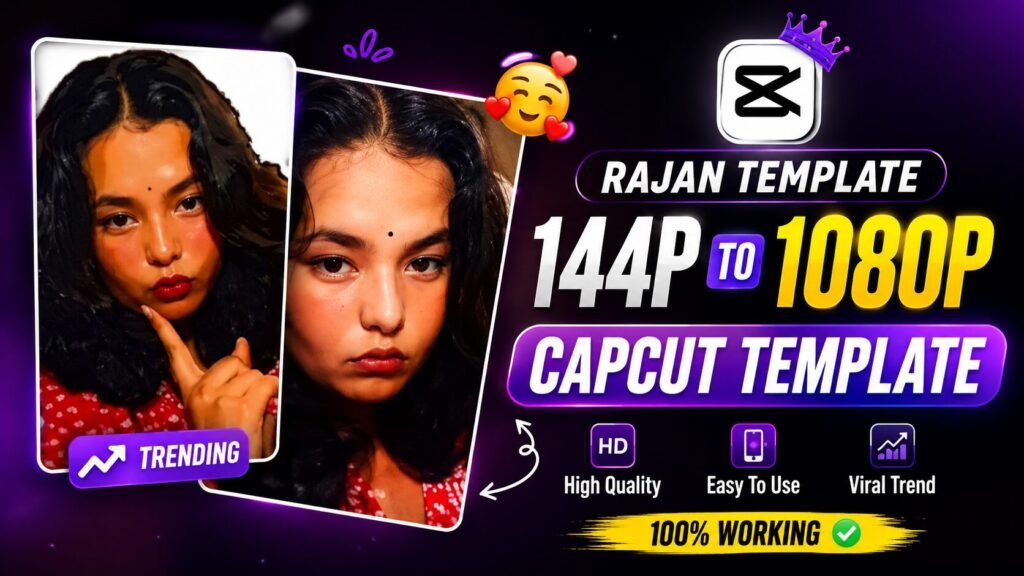
Use one strong portrait clip or a short reel with clear facial movement, then match the cut to a beat or bass hit. A clean song with rising energy works especially well because it makes the reveal feel more dramatic.
Soft cinematic transition edit
This version of the edit feels smoother and more emotional. It works well for travel content, aesthetic selfies, couple videos, and slow-motion moments.
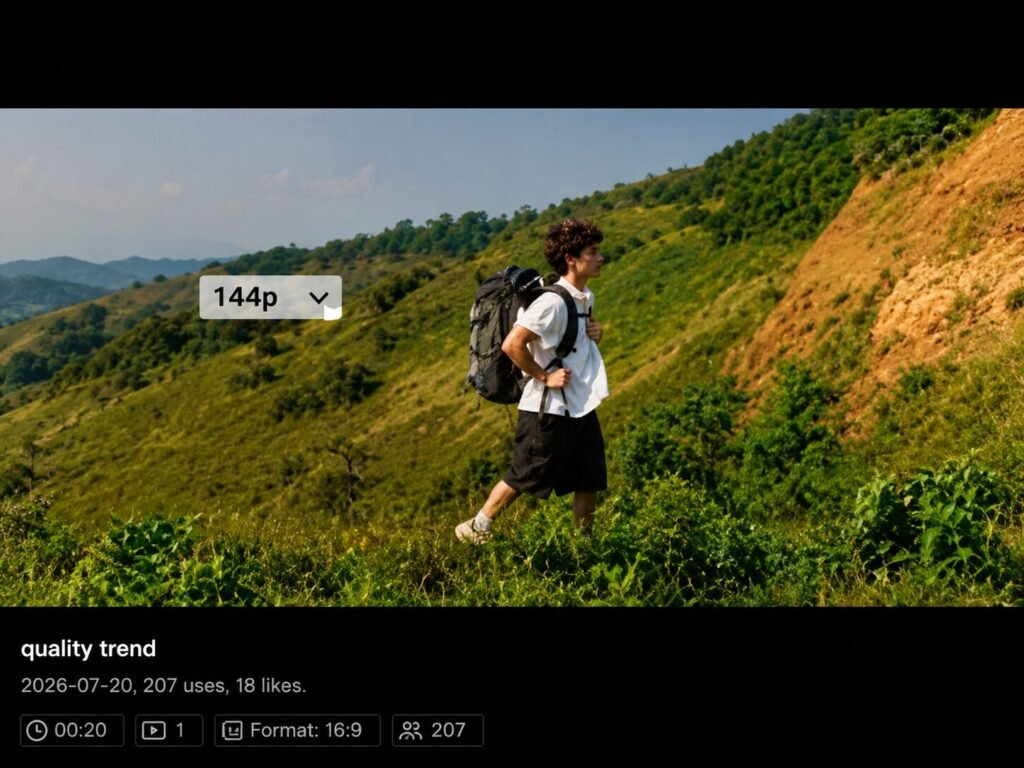
Try using only a few clips so the transition has room to breathe. Export in the highest quality available to preserve the clean look, especially if your final video is meant for Reels or Shorts.
A CapCut template edits
Using a template is much easier than building the whole effect from scratch. If you are new to editing, this simple process will help you get started quickly.
- Open the template link in CapCut.
- Tap Use template in CapCut app.
- Select the photos or clips you want to include.
- Adjust the order if needed and preview the result.
- Export the finished video in the best quality available.
For the best outcome, keep your selected media aligned with the template mood. If the template is fast and punchy, use energetic clips. If it is smooth and cinematic, choose slower footage with better framing.
How to use editing tips to make your video stand out
Even if many people use the same CapCut upscaling, your final video can still look unique. Small changes often make the biggest difference.
- Change the opening frame to something more personal.
- Use a custom caption or short on-screen phrase.
- Adjust brightness and contrast before exporting.
- Pick music that matches your content theme.
- Try a slightly different crop or framing style.
Moreover, do not rely only on the template itself. Add your own taste through color, timing, and clip selection so the edit feels like your own work rather than a copy.
Strong edits are usually not about using more effects; they are about using the right effect at the right moment.
Safety tips and common questions
Although this trend is fun and easy to try, a few practical points can help you avoid mistakes. First, always use your own footage or content you have permission to edit. Second, check whether the music you choose is suitable for the platform where you plan to post.
If a template asks for many clips, do not force random photos into it. Instead, use a smaller set of matching visuals so the final result feels polished. Also, always preview before exporting so you can catch awkward cuts or misaligned effects.
Frequently asked questions
What is in CapCut?
This template is a CapCut-style trend that makes a video look like it shifts from low quality to high quality. The effect is usually created with filters, overlays, and timed transitions rather than real resolution enhancement.
How many clips do I need?
Most versions of the style work with one to a few clips, depending on the template design. If the layout is simple, a single portrait or short video may be enough.
Why does look like 144p to 4K?
The effect looks like 144p to 4K because the edit is built to imitate a quality jump. In reality, the template uses visual tricks such as sharpening, contrast, glow, and motion timing to create that illusion.
Can I make edits for Instagram Reels?
Yes, CapCut upscaling edits are perfect for Instagram Reels, and they also work well for similar short-video formats. Just make sure your final export is clean, vertical, and properly timed to the music.
Conclusion
Rajan Template gives you a clear starting point here. The template trend is popular because it turns a simple visual idea into a dramatic and shareable video. With the right clips, timing, and a few smart adjustments, you can create a polished edit that looks far more advanced than it really is.
Now that you understand the process, try the style with your own footage and make it feel personal. Start editing, experiment with the reveal, and publish your best the edit version today.